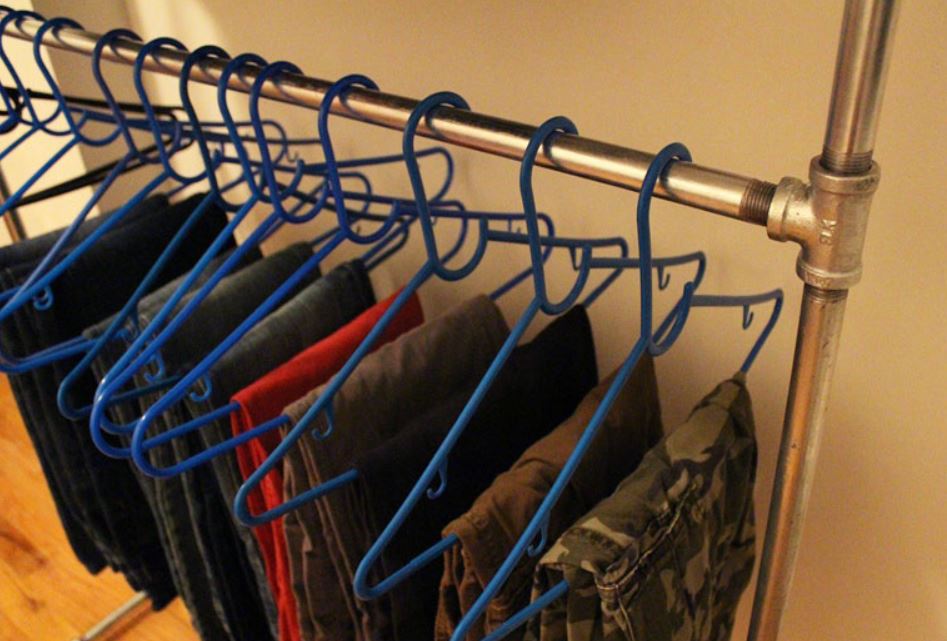
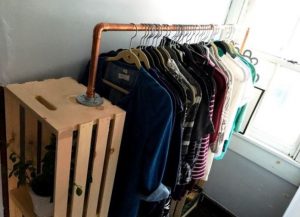
If your apartment doesn’t have enough space for storing clothes, why don’t you think of having a pipe clothing rack DIY? While wardrobe racks are made cheaply and fall apart, the good ones are extremely expensive, costing a few hundred dollars. I made a decision to make a pipe clothing rack by myself, and maybe you are wondering how to make a pipe clothing rack so don’t hesitate to follow me.
It is perfect to have a clothing rack made from pipes because they are very sturdy and will last a lifetime, you don’t have to worry about them breaking under the weight of the clothes.
I decided on galvanized steel to avoid rusting and keep the rugged look of the steel. I decided to make it a two-tier rack so that he had enough space.
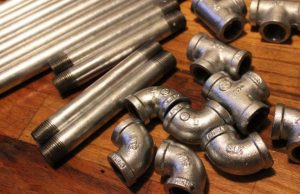
This was such a simple project for the most part that you just had to screw together pipes with fittings and the materials can be found at your local hardware store that carries plumbing supplies or you can also find all of these items on Amazon.
It’s necessary that you do a rough sketch of your design to make sure that you have everything that you need, and also that you get the same size of your pipes and fitting.
A half-inch, I agreed.
Related:
- Wooden clothes rack design
- Rolling clothes rack DIY
- Clothes Hanger Rack For Laundry Room
- Clothes Drying Rack For Small Spaces
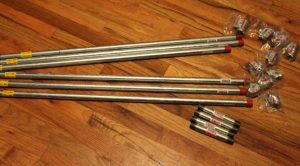
What you need to complete a pipe clothing rack:
| 6 – 1/2 X 36 INCH PIPES, THREADED |
| 6 – 1/2″ 90 DEGREE ELBOWS |
| 4 – 1/2″ TEE JOINTS |
| 4 – 1/2 X 6 INCH PIPE NIPPLES |
| DEGREASER |
Depending on where you purchase, the cost may be between $80-100.
Sound expensive but this deserves it because this will last you for years, maybe even forever with good care.
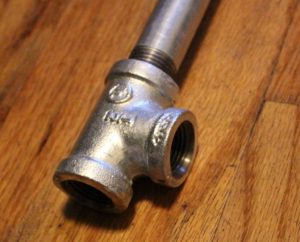
The first thing in the process of making a pipe clothing rack is removing all stickers from the pipes, which may be a bit difficult, I used a paint scraper to make it easier.
Because the pipes will be covered with some kind of grease from the threading machine, the next step is very important to keep your clothes clean!
The pipes should be sprayed down with a degreaser to remove the grease and any stuck-on adhesive. I used this degreaser.
Then give them a scrub with some steel wool pads to smooth them out before shining them up. Repeat the degreaser step again before you rinse and dry.
I realized that while I was screwing everything together, the grease was still coming off on my hands.
So I had to clean the pipes again post assembly.
*** A good amount of time for them to dry thoroughly is important before beginning assembly.
To assemble a pipe clothing rack, we begin with the feet. Match two of the nipple pipes to both sides of a tee joint…
Attach a 90-degree elbow to each nipple pipe…
Repeat these steps with the other two pipe nipples to complete your feet.
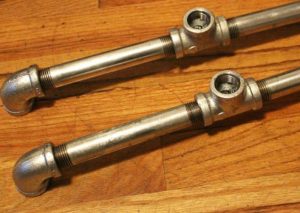
Attach a 36″ pipe to each foot to create the legs and set them aside…
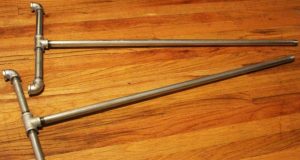
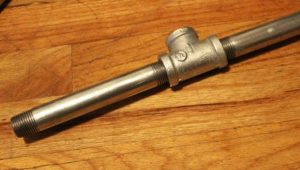
To create the top bar, attach a 90-degree elbow to each end of a 36″ pipe and ensure that the other end of the elbow is facing down…
Attach a 36″ pipe to the other end of the elbows on both sides…
Attach a tee joint to the ends of both 36″ pipes…
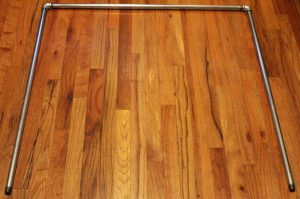
You may find it difficult to attach the center bar.
Getting both screwed in completely is impossible because you have to twist the top bar and middle bars in opposite directions to attach.
After almost a half-hour of screwing and unscrewing everything, I realized that the best way to tighten both bars is to keep the top bar slightly loose while screwing in one side of the middle bar.
Then continue to screw in the opposite side of the middle bar slightly, which will also slightly loosen the first side that you screwed in.

That is all for answering: How To Make Pipe Clothing Rack? Or you can enjoy some model of clothing rack here:


Further Reading:
- How To Pack Clothes For Moving
- How To Store Clothes In a Storage Unit
- Hanging Copper Pipe Clothing Rack Diy
- DIY Closet System Built with Pipe & Fittings
- Thelitsea – Article
Tags: home depot, steel pipes, shoe rack, spray paint, step by step, garment rack, floor flange, elbow joints, diy project, lot of clothing